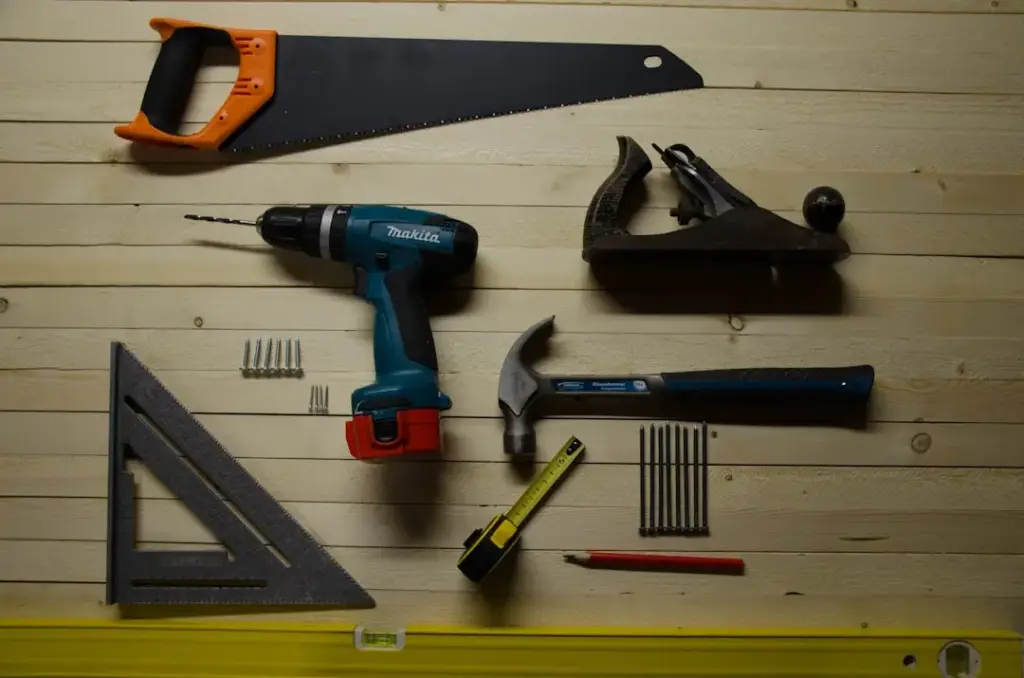
You bought a smart speaker, a few bulbs, and maybe a plug — but now the boxes sit on your counter because you are not sure where to begin. That is completely normal. The good news is that turning your home into a smart home does not require an electrician or a computer science degree. This DIY smart home installation guide for beginners step by step will walk you through every phase, from choosing the right ecosystem to mounting sensors and automating routines. With current device prices falling and compatibility improving, there has never been a better moment to start. Let’s turn those gadgets into a system that actually makes your life easier.
What This Guide Covers — and What You Will Need

A DIY smart home is more than a collection of gadgets. It is a network of devices that talk to each other through a central hub or voice assistant. Before you buy anything, you should decide on your main platform: Amazon Alexa, Google Home, Apple HomeKit, or a hub-based system like SmartThings. Each has strengths and limits. Your choice will affect which devices work together and how easy the setup becomes.
You will also need a reliable Wi‑Fi router that supports at least 20 connected devices. Many problems beginners face come from weak signals or too many devices on one band. Read also: Best Energy Monitor Smart Plug for Home Appliances: Real Cost Savings in 2026 — monitoring your energy use helps you plan where to place smart plugs.
Table of Contents
- What This Guide Covers — and What You Will Need
- Step-by-Step Installation Process
- Step 1: Set Up Your Hub or Voice Assistant
- Step 2: Install Smart Lights and Switches
- Step 3: Add Smart Plugs and Sensors
- Step 4: Secure Your Entry Points
- Step 5: Automate and Create Routines
- Comparison Table: Best Smart Home Hubs for Beginners
- Top Smart Home Hubs for DIY Beginners
- 1. Amazon Echo (4th Generation) — Best Overall
- 2. Google Nest Hub Max — Best for Beginners
- 3. Samsung SmartThings Hub v3 — Best Value
- 4. Apple HomePod mini — Best for Apple Users
- 5. Hubitat Elevation — Best for Advanced Users
- What to Look for When Choosing Smart Home Devices
- Frequently Asked Questions
- Do I need a smart home hub if I use Alexa or Google Assistant?
- Which smart home ecosystem is easiest for beginners?
- Can I install smart switches without an electrician?
- How many smart devices can my Wi‑Fi handle?
- What is Matter and do I need it?
- Why are some smart devices not connecting?
- Can I automate routines without coding?
- Is a smart home secure from hackers?
- Final Recommendations
Step-by-Step Installation Process
Step 1: Set Up Your Hub or Voice Assistant
Plug in your primary hub — whether it is an Amazon Echo, Google Nest Hub, Apple TV, or a dedicated hub like Hubitat. Download the corresponding app and follow the on‑screen instructions to connect it to your Wi‑Fi network. This device becomes the brain of your smart home.
Step 2: Install Smart Lights and Switches
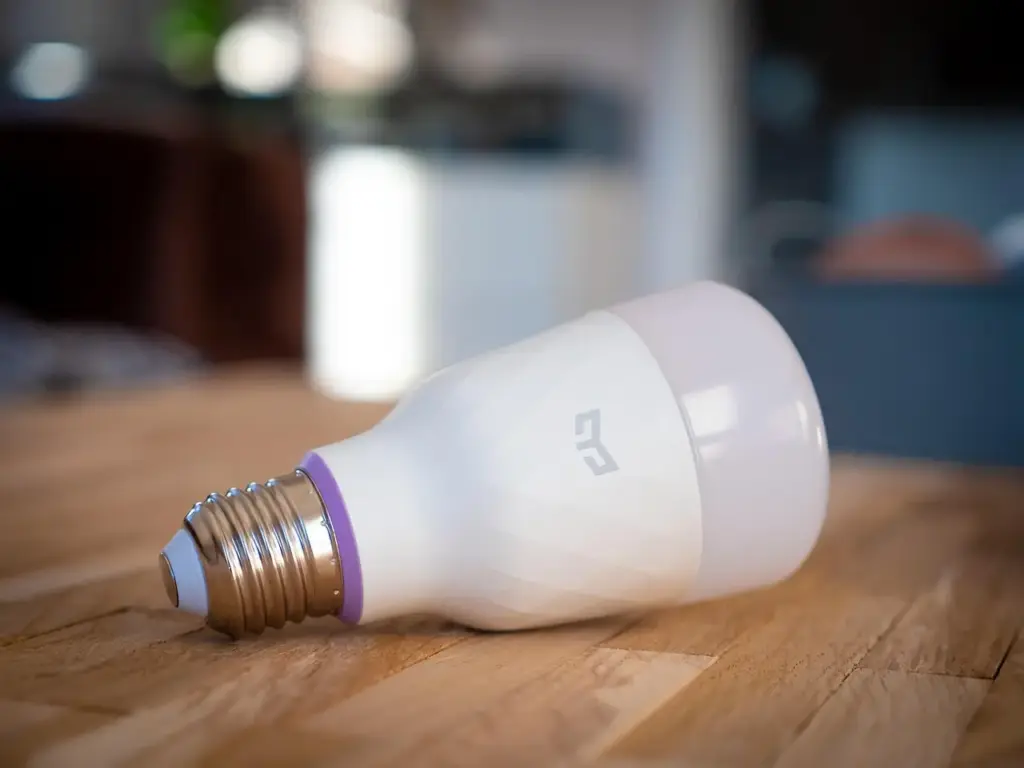
Start with smart bulbs for lamps or replace a wall switch if you are comfortable with basic electrical work. Screw in the bulb, turn on the power, and use the app to pair it with your hub. Most modern bulbs work with 2.4 GHz Wi‑Fi or Zigbee.
Step 3: Add Smart Plugs and Sensors
Plug a smart plug into an outlet, connect it in the app, and then plug in a lamp or appliance. Sensors — door/window, motion, water leak — usually come with adhesive strips. Place them where needed and pair them via the hub. A water leak detector under the sink can prevent costly damage.
Step 4: Secure Your Entry Points
A smart door lock replaces your deadbolt in about 20 minutes with just a screwdriver. Follow the manual to align the latch and connect to the app. Read also: Smart Door Lock with Fingerprint and Keypad for Front Door (2026) — this locks offer convenience and security for families.
Step 5: Automate and Create Routines
Once devices are paired, open the hub app and create routines. Example: “Turn off all lights and lock the door at 10 PM.” You can also set triggers like motion turning on a light. This is where the smart home becomes genuinely helpful.
Comparison Table: Best Smart Home Hubs for Beginners
| Hub / Platform | Compatibility | Ease of Setup | Price (USD) | Best Feature | Overall Rating |
|---|---|---|---|---|---|
| Amazon Echo (4th Gen) | Alexa, Zigbee, Wi‑Fi | Excellent | $99 | Built‑in Zigbee hub | 4.5/5 |
| Google Nest Hub Max | Google Assistant, Wi‑Fi, Thread | Excellent | $229 | Smart display + camera | 4.4/5 |
| Samsung SmartThings Hub v3 | Zigbee, Z‑Wave, Wi‑Fi | Good | $69 | Broad protocol support | 4.3/5 |
| Apple HomePod mini | HomeKit, Thread, Wi‑Fi | Good | $99 | Seamless Apple ecosystem | 4.2/5 |
| Hubitat Elevation | Z‑Wave, Zigbee, LAN | Moderate | $129 | Local processing (no cloud) | 4.1/5 |
| Aqara Hub M2 | Zigbee, HomeKit, Alexa | Good | $49 | Low‑cost Zigbee hub | 4.0/5 |
Top Smart Home Hubs for DIY Beginners
1. Amazon Echo (4th Generation) — Best Overall
Overview: The latest Echo includes a built‑in Zigbee radio, so you can connect many sensors and lights without a separate hub. It acts as both a voice assistant and a smart home controller.
Features: Zigbee support, Alexa voice control, temperature sensor, night‑light, and multi‑room audio.
Pricing: Around $99. Often on sale for $59 during Prime events.
Advantages:
- Eliminates the need for a separate hub for Zigbee devices
- Wide variety of compatible third‑party devices
- Easy step‑by‑step app setup
Disadvantages:
- No Z‑Wave support (requires extra adapter)
- Always listens for wake word (privacy concern for some)
Best For: Beginners who want a simple all‑in‑one solution and use Alexa voice commands.
User Experience: Most users find pairing devices takes under 2 minutes. The built‑in Zigbee hub saves money and simplifies the setup. Some report occasional dropped connections when many devices are added.
Expert Opinion: The Echo 4th Gen is the most recommended entry point because of its low cost, large ecosystem, and integrated hub. It handles up to 20 Zigbee devices well. If you plan to expand heavily, consider a dedicated hub later.
2. Google Nest Hub Max — Best for Beginners
Overview: This smart display combines a Google Assistant speaker with a 10‑inch screen and a Nest Cam. It shows you live feeds from compatible cameras and lets you control devices by touch.
Features: Google Assistant, Thread radio, facial recognition, display for video doorbells, and camera for home monitoring.
Pricing: $229. Often discounted to $179.
Advantages:
- Visual interface makes setup and routine management intuitive
- Thread support for future‑proof connectivity
- Excellent voice recognition
Disadvantages:
- No built‑in Zigbee or Z‑Wave
- Higher price than basic speakers
Best For: Visual learners and those who already use Google services.
User Experience: Many appreciate the touch control for lights and thermostats. The camera is useful for checking on pets. Setup of compatible devices like Philips Hue is straightforward through the Google Home app.
Expert Opinion: If you prefer Google’s ecosystem and want a screen, this is the strongest choice. However, you will need separate hubs for Zigbee devices. For a pure voice‑only start, the Nest Audio is cheaper.
3. Samsung SmartThings Hub v3 — Best Value
Overview: A dedicated hub that supports both Zigbee and Z‑Wave, making it one of the most compatible platforms. It works with lights, locks, sensors, and more.
Features: Zigbee, Z‑Wave, Wi‑Fi, and LAN. Connects to Samsung SmartThings app for automation.
Pricing: $69. Sometimes bundled with a starter kit.
Advantages:
- Broad protocol support (Zigbee + Z‑Wave)
- Local processing available with certain automations
- Large community with many custom device handlers
Disadvantages:
- Requires a separate app and account
- Setup can be more technical than the Echo
Best For: Users who want maximum device choice and are comfortable with a dedicated hub.
User Experience: Experienced DIYers love the flexibility. Beginners sometimes struggle with pairing Z‑Wave devices, but the app has improved. Firmware updates are frequent.
Expert Opinion: The SmartThings Hub offers the best bang for the buck in terms of compatibility. It is a solid foundation that will grow with you. Pair it with an Echo or Google speaker for voice control.
4. Apple HomePod mini — Best for Apple Users
Overview: A small speaker that serves as a HomeKit hub. It uses Thread for fast, low‑power connections and works with all HomeKit‑certified accessories.
Features: Siri voice control, Thread radio, intercom, and home automation via the Home app.
Pricing: $99.
Advantages:
- Seamless integration with iPhone, iPad, Mac
- Privacy‑focused (encryption on‑device)
- Works with Matter protocol
Disadvantages:
- Limited to HomeKit‑compatible devices (fewer than Alexa or Google)
- No built‑in Zigbee or Z‑Wave
Best For: Apple lovers who want a unified smart home experience with their existing iCloud.
User Experience: Feedback is positive for ease of use within the Apple ecosystem. Users report that “Hey Siri” works reliably, but the device list is narrower. Routines are simple to create in the Home app.
Expert Opinion: If you already own an iPhone, iPad, and Apple TV, the HomePod mini is the most hassle‑free option. The Thread radio will become more valuable as more Matter‑enabled devices launch.
5. Hubitat Elevation — Best for Advanced Users
Overview: A powerful hub that runs automations locally (no cloud dependency). It supports Z‑Wave, Zigbee, and LAN devices.
Features: Local rule engine, no subscription, extensive customisation with apps and drivers, and dashboard.
Pricing: $129.
Advantages:
- Faster response times because everything processes locally
- No internet required for most automations
- Very broad compatibility (including Lutron Caseta via adapter)
Disadvantages:
- Steeper learning curve; not as beginner‑friendly
- Smaller user community than SmartThings
Best For: Tech‑savvy users who want reliability and don’t mind tinkering.
User Experience: Once set up, users praise the rock‑solid performance. But initial configuration can take hours. The dashboard interface is less polished than competitors.
Expert Opinion: Hubitat is overkill for most beginners. However, if you are planning a large installation (50+ devices) and hate cloud delays, it is the gold standard.
What to Look for When Choosing Smart Home Devices
Begin your DIY journey by focusing on three aspects: compatibility, ease of setup, and price per device. Many beginners buy the cheapest product only to find it does not work with their chosen voice assistant. Always check the packaging for “Works with Alexa/Google/HomeKit” logos.
Important features:
- Hub requirement – some devices need a hub (Zigbee/Z‑Wave), others connect directly via Wi‑Fi. Decide which path you prefer.
- Power source – battery‑powered sensors are easier to place but need battery changes.
- Automation capabilities – look for devices that support routines, timers, and scenes.
Pricing factors: Starter kits often provide better value than buying individually. A smart bulb can cost $10–$30, a plug $15–$25, and a hub $50–$130. Budget $200–$400 for a solid starter set of 5–8 devices.
Hidden costs: You may need a Wi‑Fi extender if your router is far from some rooms. Also, some advanced automations require a subscription (e.g., cloud voice processing). Plan for these extras.
Tips for choosing wisely: Start with one room — the living room — and automate lights, a plug, and a sensor. See how the system works before expanding. Read also: Cost to Install Smart Home Lighting System in 2500 Sq Ft Home: 2026 Guide — a helpful reference for budgeting.
For safety, consider adding a smart water leak detector with automatic shut off valve to protect against plumbing emergencies. Read also: Smart Water Leak Detector with Automatic Shut Off Valve: 2026 Guide — this device can save you thousands in water damage.
Frequently Asked Questions
Do I need a smart home hub if I use Alexa or Google Assistant?
Not always. Many Wi‑Fi devices connect directly to your router and can be controlled via voice assistants without a separate hub. However, a hub (or a device with a built‑in hub) improves reliability for Zigbee and Z‑Wave devices and reduces Wi‑Fi congestion.
Which smart home ecosystem is easiest for beginners?
Amazon Alexa and Google Home are the most beginner‑friendly because of their large device libraries and simple app interfaces. Both support step‑by‑step pairing guides. HomeKit is easy if you already use Apple products, but it supports fewer devices.
Can I install smart switches without an electrician?
Yes, but only if you are comfortable with basic electrical work and follow safety rules — turn off the breaker and use a voltage tester. If you are unsure, hire a licensed electrician. Smart bulbs and plugs are 100% DIY and do not involve wiring.
How many smart devices can my Wi‑Fi handle?
Most consumer routers handle 20–30 devices comfortably. For larger smart homes (40+ devices), consider a mesh Wi‑Fi system or a hub that offloads traffic to Zigbee/Z‑Wave. Check your router’s specifications for connected device limits.
What is Matter and do I need it?
Matter is a new smart home standard that promises interoperability between devices from different brands, regardless of the ecosystem (Alexa, Google, HomeKit). It works over Thread or Wi‑Fi. While not essential today, buying Matter‑certified devices future‑proofs your setup.
Why are some smart devices not connecting?
Often it is a Wi‑Fi band issue. Many smart devices only support 2.4 GHz. Ensure your router sends a combined 2.4/5 GHz signal or has a separate 2.4 GHz network. Also, keep the hub and device within 30 feet during pairing.
Can I automate routines without coding?
Absolutely. Modern apps allow you to create “if this then that” routines with simple drop‑down menus. For example, “If the front door opens after sunset, turn on the porch light.” No programming required.
Is a smart home secure from hackers?
Basic security steps greatly reduce risk: change default passwords, enable two‑factor authentication, keep firmware updated, and avoid buying cheap no‑name devices. Using a separate IoT network (guest network) adds another layer.
Final Recommendations
Best Overall: Amazon Echo (4th Gen) – best balance of price, ease, and built‑in hub. Ideal for most beginners.
Best Value: Samsung SmartThings Hub v3 – maximum compatibility at a low price; great for expanding later.
Best Premium Option: Google Nest Hub Max – smart display with camera and Thread; perfect for those who want visual automation.
Best Beginner Choice: Amazon Echo (4th Gen) or Google Nest Hub Max – either is straightforward to set up with dedicated apps.
Best for Advanced Users: Hubitat Elevation – local processing and extensive customisation for power users.
This DIY smart home installation guide for beginners step by step has given you the foundation to start building your automated home. Begin small, choose devices that match your ecosystem, and always prioritise reliable Wi‑Fi and secure practices. Your smart home will grow with you.
